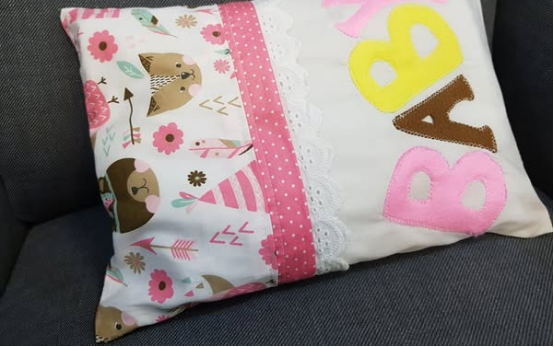
Understanding the Impact of Custom Throw Pillows
Throw pillows are the unsung heroes of interior design. They provide an affordable, high-impact way to introduce texture, color, and personality into a room without the need for a complete renovation. By crafting your own, you gain control over the fabric quality, the precise dimensions, and the durability of the closure.
Why DIY Over Store-Bought?
While store-bought pillows are convenient, they often suffer from thin fabrics, poor stitching, and synthetic fillers that flatten quickly. DIY projects allow you to use high-grade upholstery fabric, linen, or velvet, ensuring your home decor reflects a professional, bespoke aesthetic.

Essential Materials for Pillow Construction
Before beginning your project, gathering the right materials is crucial for a professional result. Your fabric choice will dictate the style and longevity of the pillow.
Recommended Fabric Types
- Linen: Perfect for a casual, farmhouse, or coastal aesthetic.
- Velvet: Adds luxury and depth to living rooms or bedrooms.
- Cotton Canvas: Highly durable and ideal for high-traffic areas or homes with pets.
- Brocade: Excellent for formal settings requiring intricate patterns.
| Fabric Type | Best Use Case | Maintenance Level |
|---|---|---|
| Linen | Casual Living | Moderate |
| Velvet | Formal Decor | High |
| Cotton Canvas | High-Traffic | Low |

Step-by-Step Sewing Procedure
Creating a throw pillow involves precision in measurement and consistency in stitching. Follow this structural approach to ensure your pillows sit perfectly on your furniture.
The Assembly Process
- Measure and Cut: Always add a 0.5-inch seam allowance to your dimensions.
- Pinning: Use quilting pins to secure edges, ensuring patterns are aligned if you are using directional fabric.
- Stitching: Use a straight stitch with a 2.5mm length. Backstitch at the beginning and end of every seam.
- Turning and Pressing: Always press your seams open before turning the fabric right-side out to achieve crisp edges.

Expert Tips for Professional Finishes
To move from amateur to professional, focus on the details. Use an invisible zipper instead of a standard envelope closure to give your pillow a structured, high-end look. Additionally, always use a pillow insert that is 1-2 inches larger than the finished cover for a “plump” look.
Common Pitfalls to Avoid
- Ignoring Grainlines: Always align your fabric grain to prevent twisting after the first wash.
- Insufficient Seam Allowance: Not providing enough room for the seam can lead to fraying over time.
- Poor Pressing: Skipping the iron during the assembly process is the number one sign of a “homemade” look.
Frequently Asked Questions (FAQ)
- How do I choose the right size pillow insert?
- Always buy an insert 1-2 inches larger than your finished cover dimensions. This ensures the pillow corners are filled and the fabric stays taut.
- Can I wash my handmade throw pillows?
- It depends on the fabric. Cotton and linen are generally washable. If using velvet or delicate brocades, dry cleaning is recommended to preserve the texture.
- What is the best stitch length for sewing pillows?
- A standard 2.5mm stitch length is ideal for most medium-weight home decor fabrics.
- How do I ensure my patterns match at the seams?
- Use “pattern matching” techniques by pinning the fabric at the pattern repeat points before sewing, and sew slowly to ensure the feed dogs don’t shift the layers.