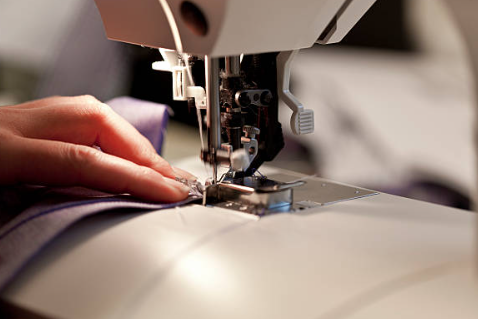
Selecting Your First Sewing Machine: Critical Factors for Success
Embarking on your sewing journey requires a machine that balances functionality with ease of use. Beginners often feel overwhelmed by the sheer variety of models, but the selection process should focus on long-term utility rather than just initial price point. A high-quality entry-level machine serves as the foundation for all future skill development.
Key Features to Prioritize
- Stitch Variety: Ensure the machine offers basic straight stitches, zigzag stitches, and at least one buttonhole function.
- Ease of Threading: A machine with a clear, numbered threading path significantly reduces frustration for new users.
- Durability: Look for internal metal frames rather than purely plastic constructions to ensure machine longevity under moderate usage.

Understanding the Mechanics of Stitch Adjustment
The core of every perfect seam lies in the relationship between the needle thread and the bobbin thread. Understanding this mechanical interaction allows a sewist to transition from a novice to an operator who can manipulate outcomes based on fabric weight and thread type.
The Tension Mechanism Explained
Stitch adjustment is primarily governed by the tension disks. When you adjust the tension dial, you are effectively controlling how much resistance is applied to the needle thread. If the tension is too loose, the thread loops on the underside; if it is too tight, the fabric puckers or the thread snaps.
Fabric and Needle Compatibility
| Fabric Weight | Recommended Needle Size | Suggested Tension Setting |
|---|---|---|
| Lightweight (Silk) | 60/8 – 70/10 | Low (2-3) |
| Medium (Cotton) | 80/12 | Standard (4-5) |
| Heavy (Denim) | 90/14 – 100/16 | High (6+) |

Solving the Mystery of Skipped Stitches
Skipped stitches are perhaps the most common source of frustration for home sewists. This phenomenon occurs when the needle fails to catch the bobbin thread, leaving a gap in the seam line. This is rarely a sign of a broken machine; instead, it is usually a mismatch between components or a synchronization issue.
Diagnostic Steps for Skipped Stitches
- Needle Inspection: A dull or bent needle is the #1 cause. Always replace the needle first when skipping occurs.
- Thread Path Verification: Ensure the thread is seated correctly in the take-up lever. A slight misalignment can cause the thread to slip, resulting in missed cycles.
- Timing Check: In advanced cases, the “hook-to-needle” timing may be off, requiring a professional adjustment or a manual reset if the machine allows.

Mastering DIY Debugging and Maintenance
You do not need a technician for every minor malfunction. Most sewing machine issues can be resolved at home with a bit of patience and systematic troubleshooting. Regular maintenance, such as cleaning the bobbin case and lubricating the feed dogs, prevents 90% of operational failures.
Common Troubleshooting Protocols
When your machine jams or makes unusual noises, stop immediately. Attempting to force the fabric through can damage the internal timing gears. Start by removing the needle plate and clearing away lint, then re-insert the bobbin to ensure it is not wound unevenly.
Frequently Asked Questions (FAQ)
- Q1: Why does my thread keep breaking?
- Thread breakage is usually caused by incorrect tension settings, poor quality thread, or a burr on the needle or bobbin case. Ensure your thread is high quality and that the needle is not damaged.
- Q2: How often should I oil my sewing machine?
- Modern machines often have self-lubricating components, but older models require oiling every 6-12 months. Consult your manual to avoid over-oiling, which can attract lint and cause jams.
- Q3: Should I buy a mechanical or computerized machine?
- Mechanical machines are durable and easier to repair, while computerized machines offer convenience features like automatic needle threaders and programmed patterns. Choose based on your budget and desired level of automation.
- Q4: Why is my fabric bunching up under the needle?
- This is often caused by the start of the seam. Hold the thread tails firmly behind the presser foot when you begin stitching to provide enough tension to feed the fabric evenly.