The journey from a simple piece of fabric to a wearable masterpiece is one of the most rewarding creative endeavors. In an era of fast fashion, the ability to construct your own wardrobe offers not only a unique aesthetic but also a commitment to sustainability and craftsmanship. This guide serves as a pillar of knowledge for those seeking to master the art of sewing, ranging from foundational accessory projects to the complexities of haute couture garment production.
Foundational Sewing Projects: Accessories and Quick-Start Crafts
For those beginning their journey, the barrier to entry is often perceived as high. However, starting with small-scale accessories allows for the mastery of basic stitches and fabric handling without the pressure of complex fitting. Items such as scarves and drawstring bags provide the perfect canvas for practicing straight seams and understanding textile behavior.
The 10-Minute Hand-Sewn Drawstring Bag
Even without a sewing machine, a functional and stylish drawstring bag can be completed in mere minutes. This project focuses on the running stitch and the backstitch for durability. The logic involves folding a rectangular fabric piece, sewing the lateral sides, and creating a “channel” at the top for the drawstring cord. This teaches the essential concept of the “seam allowance” and how to create hollow casings for hardware or ties.
Handmade Scarves: Material Selection and Edge Finishing
Creating a scarf from scratch is an exercise in material science. One must choose between the insulating properties of wool, the drape of silk, or the breathability of linen. The technical challenge here lies in the finishing of the edges. For beginners, a rolled hem or a simple fringe (achieved by pulling weft threads) ensures the fabric does not fray while maintaining a professional look. A well-crafted scarf is the ultimate gateway to understanding how fabric weight affects the final silhouette of a garment.

Upcycling and Sustainable Fashion: The Denim Transformation
Sustainability in fashion is no longer a trend but a necessity. Upcycling existing materials, particularly durable textiles like denim, allows for the creation of high-utility items that carry a unique “distressed” or “vintage” aesthetic. Transforming old jeans into a stylish tote bag is a classic example of structural reconstruction.
Structural Integrity in Denim Totes
When repurposing jeans, the most valuable parts are the back pockets and the waistband, which can be integrated into the new design for both functionality and style. The process involves cutting the legs to form the main body of the bag and using the remaining scraps for reinforced handles. Because denim is a heavy-duty twill, it requires denim needles (90/14 or 100/16) and heavy-duty thread to ensure the seams can withstand the weight of daily use.
Reinforcement Techniques for Heavy Use
To prevent the handles from tearing away from the body, a “Box X” stitch (a square with an X inside) is recommended. This distributes tension across a larger surface area of the fabric. Additionally, adding a lining made of cotton or canvas can provide internal structure and hide the raw edges of the upcycled denim, resulting in a product that rivals retail quality.

Intermediate Garment Construction: Skirts and Vests
Moving from flat accessories to three-dimensional garments requires an understanding of human anatomy and pattern drafting. The A-line skirt and the vest are the two most logical steps for intermediate sewists, as they introduce the concepts of darts, waistbands, and armhole finishing.
The Architecture of the A-Line Skirt
The A-line skirt is a staple because of its flattering silhouette that flares from the waist. Drafting this requires three key measurements: the waist circumference, the hip circumference, and the desired length. The “A” shape is achieved by adding “flare” to the side seams of a basic skirt block. Key technical steps include:
- Dart Manipulation: Using darts to shape the flat fabric around the curves of the hip.
- Invisible Zipper Installation: A crucial skill for high-end garment finishing that ensures a seamless look.
- Interfacing the Waistband: Applying a fusible stiffener to ensure the waist does not stretch or collapse during wear.
Vest Construction and Tailoring Basics
A vest is an excellent introduction to tailoring because it lacks sleeves, which are notoriously difficult to set. However, it requires precise facing techniques around the neckline and armholes. A well-made vest should have a clean interior finish, often achieved through “bagging the lining,” where the outer fabric and lining are sewn together and turned through the shoulder seams.

Advanced Haute Couture: The Double-Faced Cashmere Coat
At the pinnacle of garment production lies the double-faced cashmere coat. This is a masterpiece of engineering that involves “hidden” construction. Double-faced fabric consists of two layers of fabric woven together by a connecting thread, allowing the garment to be unlined and reversible.
The Split-Stitch Technique
The hallmark of a professional cashmere coat is the absence of visible raw edges or bulky seams. This is achieved by carefully splitting the two layers of the fabric at the edges (usually by about 1-1.5 cm), folding them inward toward each other, and hand-stitching them using a blind stitch or “ladder stitch.” This process is incredibly labor-intensive but results in a garment that is lightweight yet exceptionally warm.
Material Selection: S-Grade Cashmere
When investing the time into such a project, material selection is paramount. High-quality cashmere is judged by its fiber length and fineness (measured in microns). Longer fibers result in less pilling and a more resilient fabric. The table below compares common luxury coat materials used in high-end production:
| Material Type | Warmth-to-Weight Ratio | Durability | Difficulty Level |
|---|---|---|---|
| Double-Faced Cashmere | Excellent | Moderate | Expert |
| Virgin Wool Melton | Good | High | Intermediate |
| Alpaca Blend | Very High | Moderate | Advanced |

Precision Details: Mastering the Perfect Collar
A collar can make or break the professional appearance of a shirt or coat. It is the focal point of the garment, situated closest to the face. Achieving a “haute couture” collar requires precision in cutting and an understanding of turn-of-cloth.
The Logic of Turn-of-Cloth
When you fold fabric, the outer layer must travel a slightly longer distance than the inner layer. If both layers are cut to the exact same size, the collar will “curl” upward or show the under-collar seam. To prevent this, the upper collar should be cut approximately 3mm larger than the under-collar. This ensures that the seam rolls slightly toward the underside, remaining invisible when worn.
Point Precision and Grading Seams
To achieve sharp, crisp collar points, one must “grade” the seam allowances—trimming the internal layers to different widths to reduce bulk. The use of a point turner and a clapper (a wooden tool used with steam to flatten seams) is essential for that professional, “pressed” look found in high-end boutiques.

Millinery: The Art of Fashionable Headwear
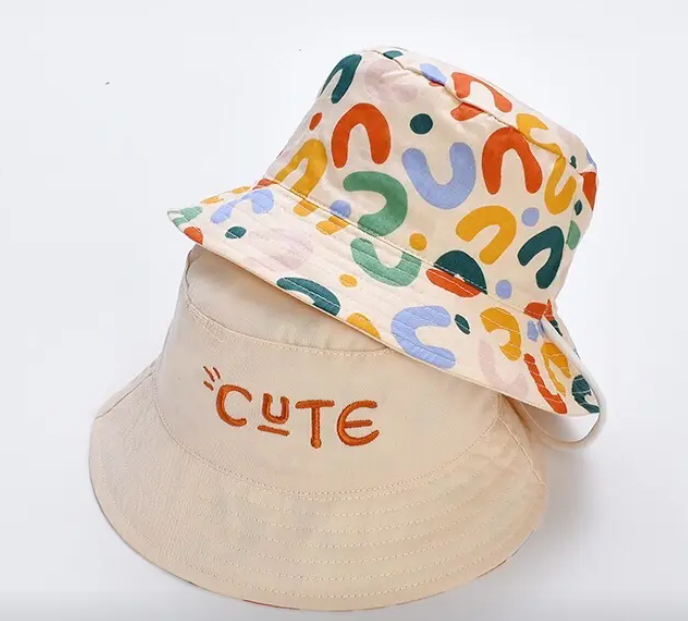
Hats represent the intersection of fashion and structural design. Unlike garments, hats often require internal skeletons or specialized blocking to maintain their shape. From fabric-based “soft” hats to structured felt pieces, the “needle’s tip” is where fashion meets architecture.
Fabric Choice and Interfacing
For a fashionable fabric hat, the choice of buckram or heavy-duty non-woven interfacing is key. This provides the “memory” the fabric needs to stay upright. When sewing a brim, multiple rows of topstitching are not just decorative; they add physical rigidity to the fabric, allowing it to hold a shape without the need for wire.
Embellishment and Finishing
The final stage of millinery is the “trimming.” This includes the application of grosgrain ribbons, veiling, or handmade fabric flowers. A professional milliner ensures that all stitches are hidden under the sweatband (the internal ribbon that touches the head), ensuring comfort and a clean finish.
Frequently Asked Questions (FAQ)
- Q1: Do I really need a sewing machine to start making clothes?
- While a machine accelerates the process, it is not strictly necessary for all projects. Accessories like the drawstring bag or even a simple scarf can be done entirely by hand. However, for garments that require structural integrity and frequent washing (like skirts or vests), a machine provides the consistent tension and “lockstitch” needed for longevity.
- Q2: What is the most common mistake beginners make when sewing an A-line skirt?
- The most common mistake is neglecting the “grainline.” Fabric has a direction (warp and weft). If the pattern pieces are not aligned perfectly with the grainline, the skirt will twist around the body when you walk. Always ensure your pattern’s grainline arrow is parallel to the fabric’s selvage (the finished factory edge).
- Q3: Why is double-faced cashmere so much more expensive than regular wool?
- The cost is driven by both the raw material (cashmere goats produce very little fiber per year) and the labor. Because double-faced garments are often hand-finished to hide seams, they require significantly more man-hours to produce than a standard machine-sewn, lined wool coat.
- Q4: How do I choose the right interfacing for my collar?
- The interfacing should match the weight of your fabric. For a light silk shirt, use a lightweight fusible. For a heavy coat collar, use a hair canvas or a firm non-woven interfacing. Always “test-fuse” a scrap piece of fabric first to ensure the interfacing doesn’t make the fabric look “bubbly” or too stiff.
- Q5: Can any pair of old jeans be turned into a tote bag?
- Technically yes, but jeans with at least 98% cotton (and 2% or less spandex) work best. “Stretch” denim can be difficult to work with for bags as it may distort under the weight of the items you carry. Rigid, 100% cotton denim provides the best structural foundation for a durable tote.